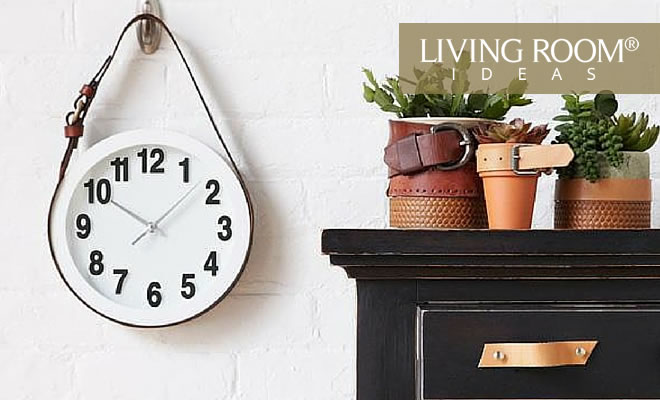
Are you searching for something to add some spice to your nicely lit living room? Do you fancy DIY projects as much as we do? Then this DIY Leather Belt Clock Hanger is just the thing for you!
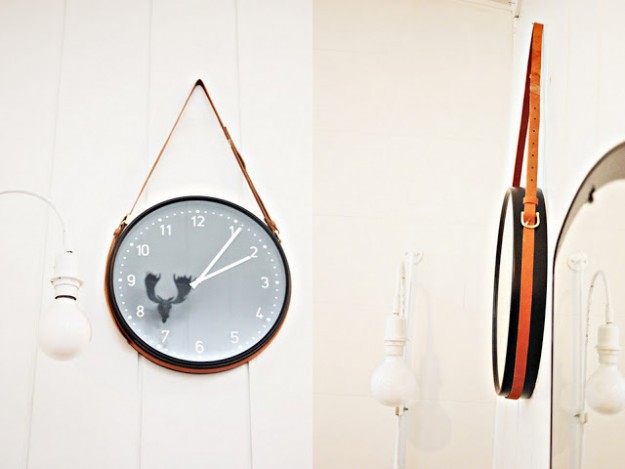
Image via lamaisondannag
DIY Leather Belt Clock Hanger | IKEA Living Room Hack
Unique DIY Leather Belt Hanger Clock that you must try!
Nothing can really last a lifetime, and so why not make the most out of everything we have while it lasts? Why settle for the traditional way, when there is no rule against doing things in a special way? (Legally of course!)
Also, it gives you a certain sense of pride and fulfillment for making a DIY that is something out of the ordinary and hanging it on your wall!
This Leather Belt Clock Hanger is a great conversational starter, and it is a unique IKEA Living Room Hack that is not only fun to do but also fun to look at!
Let us get started with the things that you will need:
- Belt Loop
- Belt Buckle
- Rotary Punch
- XActo Knife
- Edge Beveler
- Leather Dye
- Leather Finish
- 1.25″ Belt Blank
- Wall Clock
All set! Let’s go ahead have our own leather belt clock hanger.
1. Measure the leather around your clock.

This is for you to determine as to where you will start punching the first hole on the belt
Tip: As you can see the width of our leather belt hanger is much slimmer than the usual belt we have for our pants and jeans.
2. Punch the first hole.

When you punch the hole, use a napkin beneath your leather to minimize damage.
3. Make 1-inch apart marks for the next holes.

Go ahead and punch them as well, still putting a napkin underneath.
4. Cut out your belt tip.

Be careful with this procedure, you might cut yourself!
5. Smoothen edges of the leather.

Using your edge bevel create a smoother more rounded edge on the sides of your leather.
6. Shave off the hard edges of the leather.

These hard edges can be found at the front and the back of the belt.
7. Dye the leather.

Dye your leather to the amount of darkness as to your liking. Dark colors are more preferable.
8. Apply Ego Flow.

So that the leather will look extra shiny afterwards.
9. Add the belt loop and the buckle.

Close the belt by snapping the loop end and the buckle together.
10. Attach the wall clock.
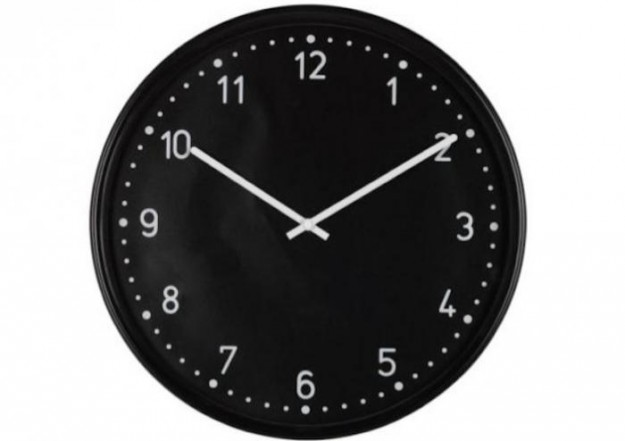
Image via remodelista
Carefully attach the clock on along the belt and hang it on your wall! You may also apply glue if you want, to make sure it doesn’t fall.
Tadah!
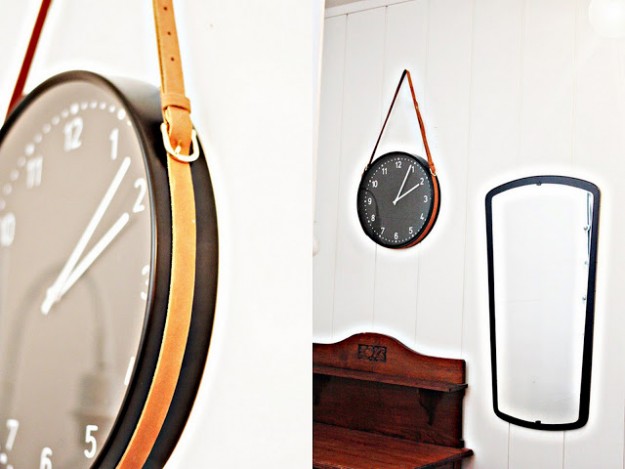
Image via lamaisondannag
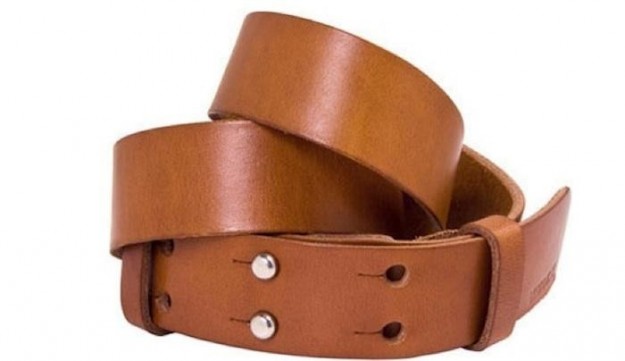
Image via remodelista
Watch the full video tutorial here How To Make A Leather Belt – DIY Leather Belt | The Polished Gent:
Humans as we are, we have the evolutionary desire to work with our hands, and with DIY Projects, we are able to satisfy that desire. And so, were we able to feed your crave for satisfaction? What do you think about this project? Please share with us your thoughts and let us know your ideas and suggestions by leaving your comments below.
Want more home sweet improvement projects? Click here.
Learned from this? You might also want to check these out…
Top 15 Easy DIY Home Decor Projects
Concrete Block Hacks
12 Amazing Kids Bedrooms | Home Design and Decor
*Ft.Image
Originally posted on April 4, 2016 @ 1:43 PM







0 Responses