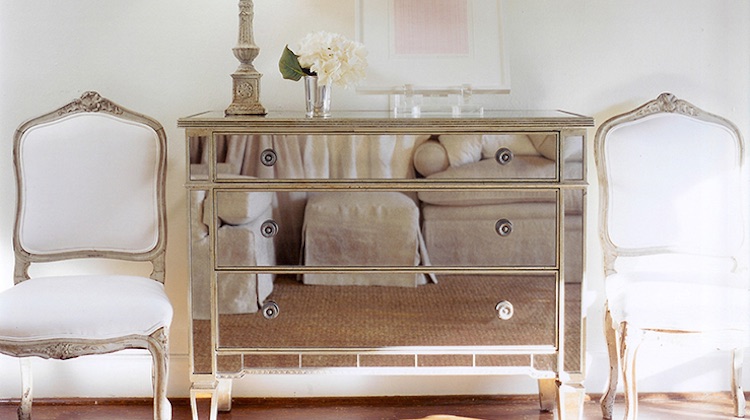
DIY projects are always great ways to upgrade your home and make it even more personal. A cool DIY mirrored dresser is perfect for your bedroom, or even out in your living room! It’s trendy and modern, but still functional. You get extra storage space and another decorative element, wherever you put it. Just read on to see how you can make your very own cool DIY mirrored dresser. It’s really easy, I promise you!

How To Make A Cool DIY Mirrored Dresser For Your Room
A Fun And Affordable Furniture Refresh
Before you throw your old furniture out, always consider if you can upgrade or refresh them! Sometimes I have furniture in great condition but are a bit out of style. In those cases, I turn to DIY projects. Try this cool DIY mirrored dresser, not just for a furniture upgrade, but also to add a new look to your room. It’s budget-friendly, functional, and you’ll also be able to flex your creative muscles! Sounds like the perfect project, if you ask me. So get your materials and creative juices ready because I’ll give you a step-by-step guide to making a cool DIY mirrored dresser.
For this cool DIY mirrored dresser, you’ll need:
- Mirror
- Glass cutter
- Plain dresser (in good condition)
- Grout
- Glue
- Electric sander
Step 1: Prepare Your Plain Dresser

A plain wood dresser is ideal. Make sure it’s in good condition: clean or dust it, and make sure there are no cracks or broken pieces.
Step 2: Remove the Knobs

If your dresser has knobs, remove them. You can replace them later, or pick new and more eye-catching ones!
Step 3: Sand The Dresser

Sand the entire dresser, including the drawers. This is so you have a smooth canvas to work with! You can use an electric sander and you can also do it by hand. But if your dresser is big, I really recommend using an electric sander.
Step 4: Paint or Stain Your Dresser

This dresser was painted white because it matched the rest of the room’s interior. White is a versatile color. It looks great almost everywhere, but you’re free to choose whatever you like. You can opt to stain the dresser and keep the wood look, or you can paint it with bright colors. Don’t forget to do the drawers as well!
Step 5: Make The Broken Mirror Pieces

Carefully cut your mirror into two unequal sizes using a glass cutter. The smaller cut will serve as the top covering and the rest you can break it to pieces for the drawer design.
Step 6: Start Pasting the Mirror Pieces

Paste the broken pieces to create something like this. Be very careful when you do this and wear gloves! Leave space for new knobs as well.
Step 7: Apply The Grout

To fill the gaps between the mirror pieces and make everything look smoother, apply grout. Follow the instructions in the package of grout and once it’s dry, wipe it all off.
Step 8: Re-assemble Your Dresser

Put everything back together, screw on new knobs, and your cool DIY mirrored dresser is all done! Easy, right?
Watch this video from SAND1Y to see just how this cool DIY mirrored dresser was made:
Projects like this cool DIY mirrored dresser are just so fulfilling, don’t you think? Seeing the finished product, especially something you make yourself, is always a great feeling. Happy decorating!
Want more home upgrade ideas like this cool DIY mirrored dresser? Check these out! Will you try this cool DIY mirrored dresser? Leave me a comment!
Featured Image via Ashley Goforth Design
Originally posted on November 15, 2016 @ 3:00 AM


