
Craving to have your boring and plain dresser get a makeover with a cheap budget? Then you are where you supposed to be. A video tutorial from My O’verlays in its Applying O’verlays will teach us how to get our plain dresser an attractive and impressive one.
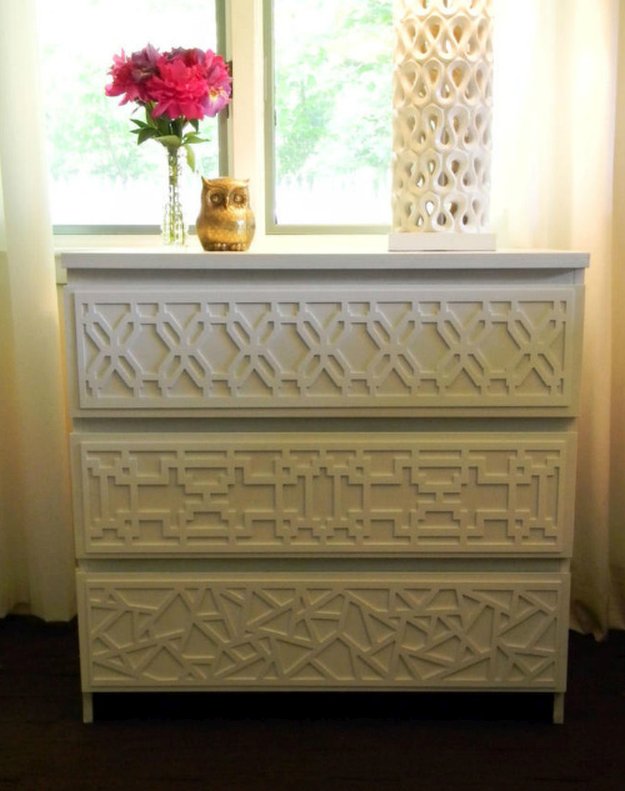
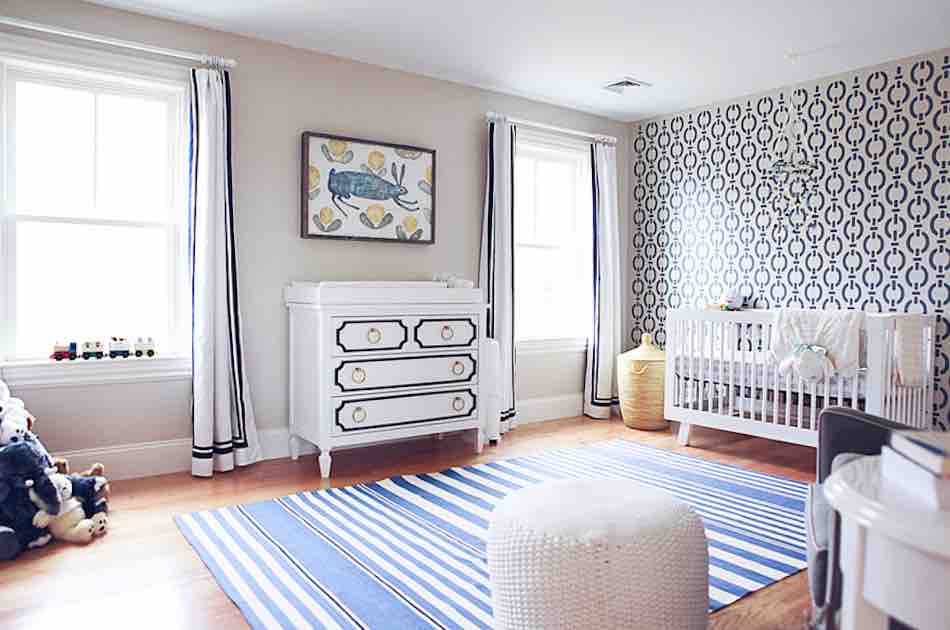
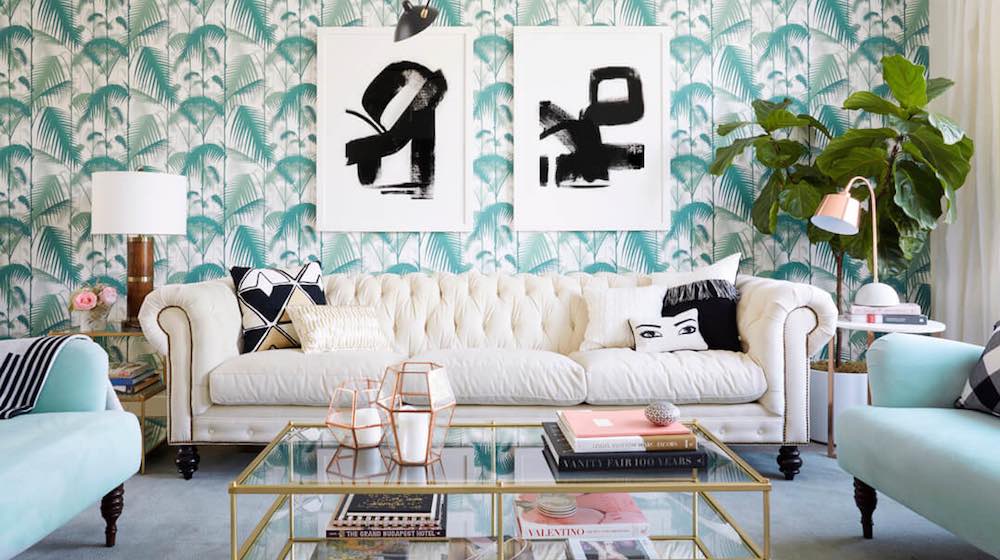
image via makeitlovely
Spruce Up A Plain Dresser with This Living Room Upcycle Hack
Budget-friendly dresser make-over you can make at any time, in the comfort of your homes!
Give your living room a stunning transformation by trying this attractive DIY Overlay Dresser Make-over!
Never miss out an opportunity in making the living room of your house a more livable place by unceasingly updating your furniture pieces from time to time. And with our tips here at HomeSweet, the busier you get, the better your home becomes!
Check out the steps below and get started!
1. Start with a clean surface.
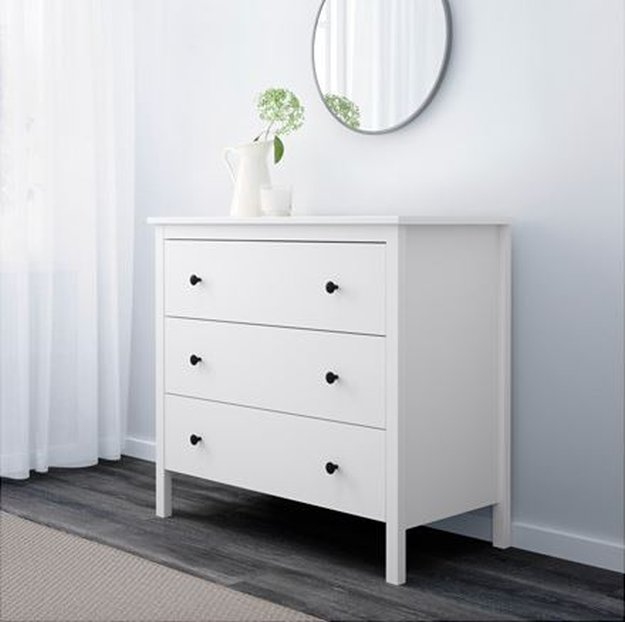
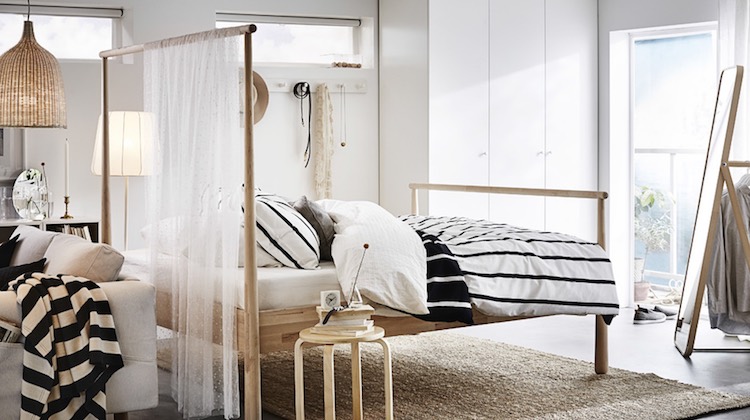
image via ikaea
Make sure to have your lain dresser neat and tidy before you get started.
2. Stick Adhesive
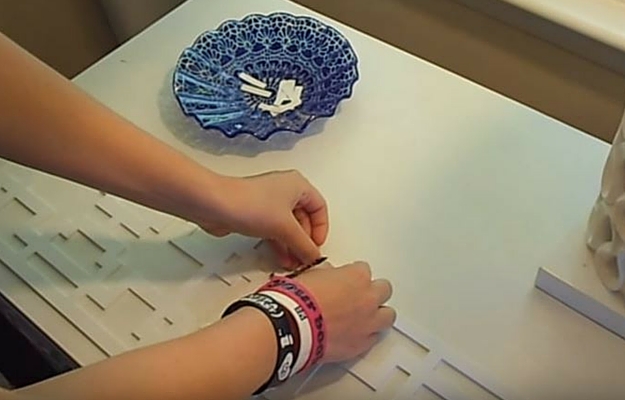
Apply all the tabs around the linings and the center of the O’verlay.
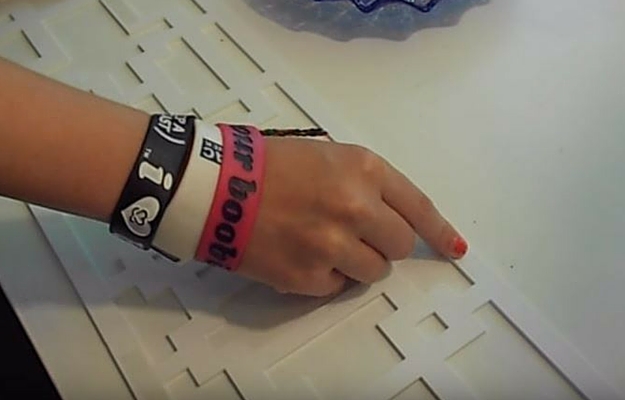
Peel away neatly and carefully.
3. Attach the Panel
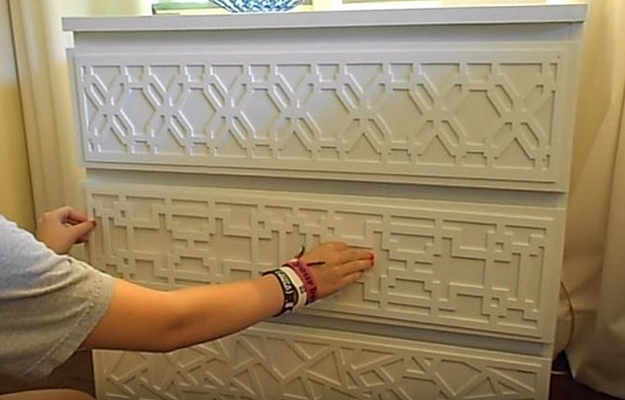
Line up the panel and firmly press the panel into place during application.
4. Mark brad nails in corners with push pins.
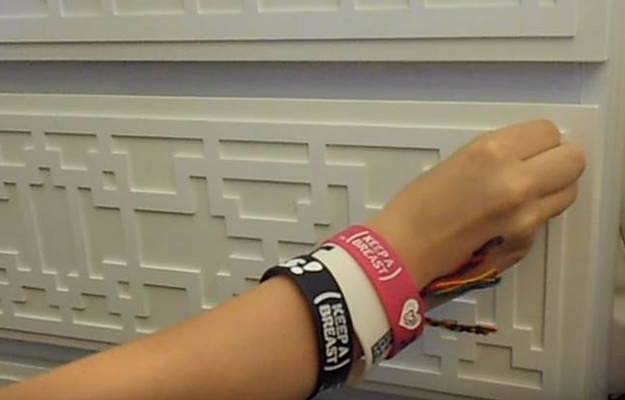
This will help us locate the right places to nail our brad nails later.
5. Place brad nails.

Stick the brad nails on the marked location and lightly hammer into place.
6. Paint

image via makingitlovely
White is a great color that goes along with whatever color you already have in the house.
Watch full video tutorial here Applying O’verlays by My O’verlays:
From plain dresser to a gorgeous clothes keeper! It is a quick and easy dresser makeover that you can finish in just a number of hours. You can actually have your O’verlay in varied shapes or whatever design that best suits you!
What do you think about this dresser make over? Please let us know your ideas, thoughts and suggestions by leaving your comments below.
Want more home sweet improvement projects? Click here.
Learned from this? You might also want to check these out…
Top 15 Easy DIY Home Decor Projects
Concrete Block Hacks
12 Amazing Kids Bedrooms | Home Design and Decor
*Ft.Image
Originally posted on April 4, 2016 @ 3:04 PM



0 Responses